Can You Install a Video Intercom Yourself? DIY vs Professional Installation Guide
Share
Quick Navigation
- The Short Answer: It Depends on Your Building
- When DIY Makes Sense
- When You Absolutely Need a Professional
- DIY Installation: What’s Actually Involved?
- Professional Installation: What You’re Paying For
- Cost Comparison: DIY vs Professional
- The Hidden Costs of a Bad DIY Job
- How to Choose the Right Path for Your Building
- Frequently Asked Questions
The Short Answer: It Depends on Your Building
Can you install a video intercom yourself? Yes—but only in certain situations.
For a single-family home with a simple, battery-powered wireless doorbell, DIY installation is a perfectly reasonable weekend project. For a multifamily apartment building with multiple entry points, dozens or hundreds of units, and integration with elevators or access control, DIY is almost always a mistake.
The gap between these two scenarios is massive. As one industry expert puts it: “From a one-family home’s doorbell to an intercom system on a multifamily home is a Titan step, one that involves orders of magnitude of additional complexity that can easily overwhelm a beginner”.
When DIY Makes Sense
✅ You Have a Single-Family Home or Small Building
For a standalone house, a small villa, or a building with just 1–2 units, DIY installation is often feasible. Basic audio-only systems or pre-assembled video doorbells can often be self-installed with minimal wiring, especially if they use Wi-Fi connectivity.
✅ You’re Installing a Wireless, Battery-Powered System
Battery-powered video doorbells are the easiest to install. As one guide notes: “it’s battery powered video doorbells that are easiest”. There’s no wiring to run—just mount the hardware, connect to Wi-Fi, and pair with the app.
Wireless systems like FARHD’s solar-powered villa kit are designed for simple installation: “Mount the outdoor unit. Place the indoor monitor. Connect to WiFi. Done”.
✅ You Have Existing, Compatible Wiring
If you’re replacing an old intercom with a new one that uses the same wiring, the job is significantly simpler. One DIYer describes the process: “check the model number of the existing indoor and outdoor units—then count the wires… screw the bottom bracket into the wall… run the wiring… slide the monitor down from the top until it clicks into place”.
✅ You’re Comfortable with Basic Tools and Wiring
DIY installation requires basic skills: using a drill, running low-voltage wires, and following instructions. One reviewer who successfully installed a wired system themselves noted they used “standard 4-core cable… just a drill, screwdriver, and a bit of patience”.
Tools you’ll likely need:
- Drill and drill bits
- Screwdrivers (including Torx for some systems)
- Wire strippers
- Voltage tester
- Mounting hardware (usually included)
Typical DIY tool cost: $30–$100 if you don’t already own them.
When You Absolutely Need a Professional
❌ You Have a Multifamily Building with Multiple Units
Multifamily intercoms are “so much more than ‘buzzers’ these days”. They involve:
- Multiple entry points with coordinated access
- Complex wiring paths through numerous floors
- Central control panels that manage the entire system
- Integration with property management software, smart locks, elevator controls, and building management systems
As NYC Intercoms warns: “Attempting to do it yourself in such a case more times than not results in a jury-rigged system that will not work, cannot be scaled up, and causes more issues than they solve”.
❌ Your System Requires Integration with Other Building Systems
Modern intercoms don’t operate in isolation. They need to interface with:
- Access control systems (fob readers, keypads)
- Elevator controls (restricting visitors to authorized floors)
- Property management software (like Yardi)
- CCTV and video management systems
- Smart locks for individual units
“Master knowledge of various APIs, network protocols, and program compatibilities is needed for this intricate integration”.
❌ You’re Retrofitting an Existing Building with Unknown Wiring
Older buildings often have wiring that’s damaged, non-standard, or incompatible with modern systems. A professional can assess the existing infrastructure and recommend the right approach—whether that’s a 2-wire IP retrofit, wireless solution, or partial rewiring.
❌ You Need to Meet Legal and Compliance Requirements
Incorrect wiring can cause “electrical shock, fire, or system failure that keeps residents locked out or worse, compromises building security”. Professional installers ensure compliance with local building codes and safety standards.
❌ You Want the System to Actually Work Reliably
A DIY installation without professional network planning “leaves the system vulnerable to attack, and the system is thus prone to hacking or breakdown”. What starts as a cost-saving measure “ends up costing money in repairs, opens the door to litigation, and inflicts a critical blow to tenant satisfaction and property credibility”.
DIY Installation: What’s Actually Involved?
For a Simple Wireless System
- Mount the door station – Attach the outdoor unit to your wall or gate using the included bracket
- Place the indoor monitor – Set it up in your living room, hallway, or anywhere convenient
- Connect to Wi-Fi – Pair the system with your home network
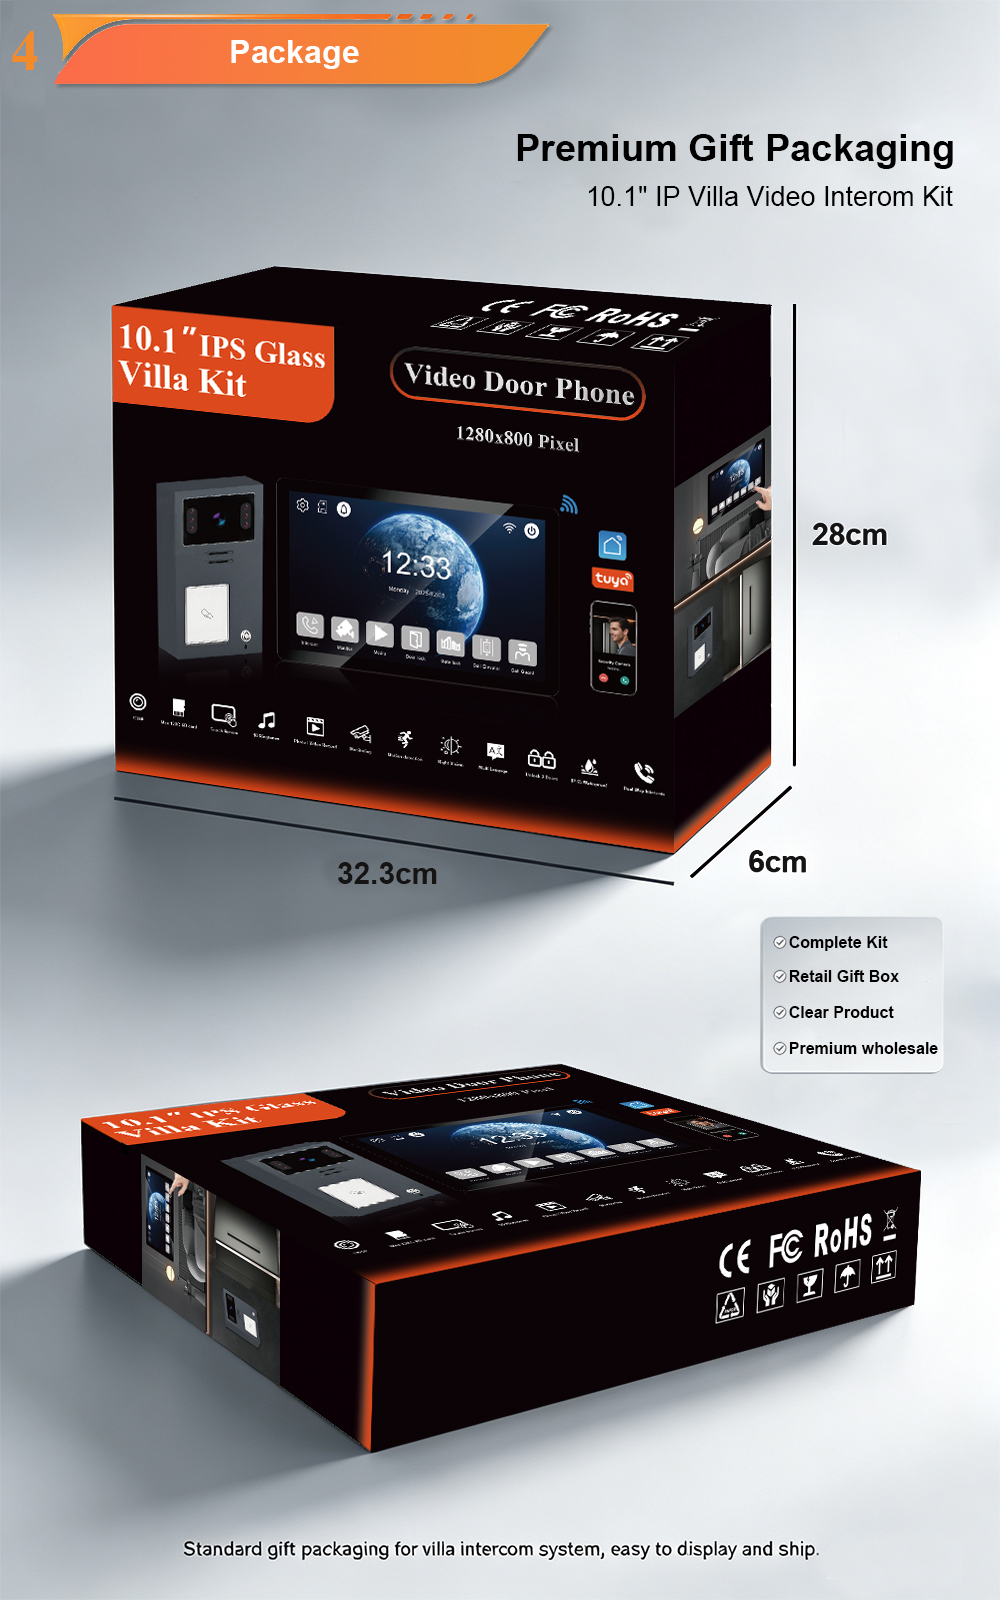
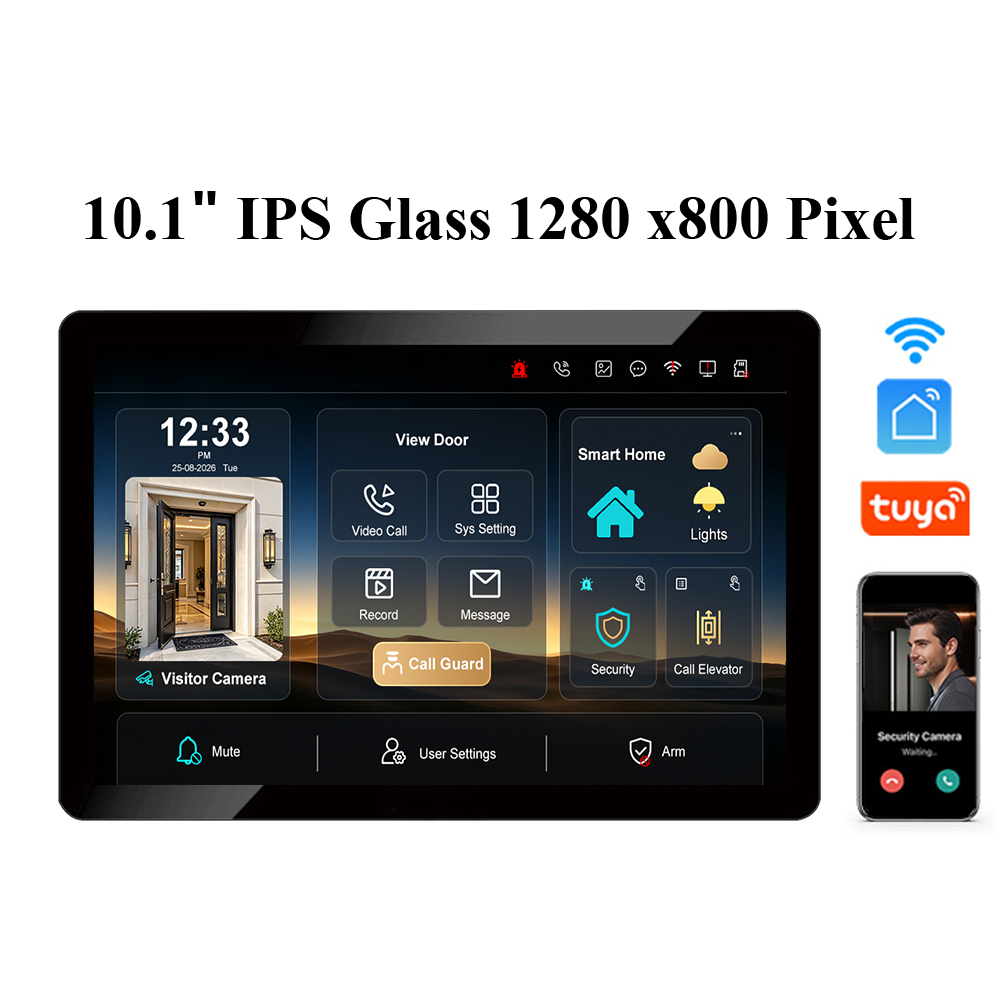
- Download the app – Install the Tuya/Smart Life app (or your system’s app) and register the device
- Test – Ring the doorbell and verify everything works
Time estimate: 30 minutes to 2 hours.
For a Wired Replacement (Same Wiring)
- Identify your existing system – Check model numbers and count the wires
- Remove the old unit – Carefully detach the old indoor monitor and door station
- Mount the new bracket – Screw the bottom bracket into the wall
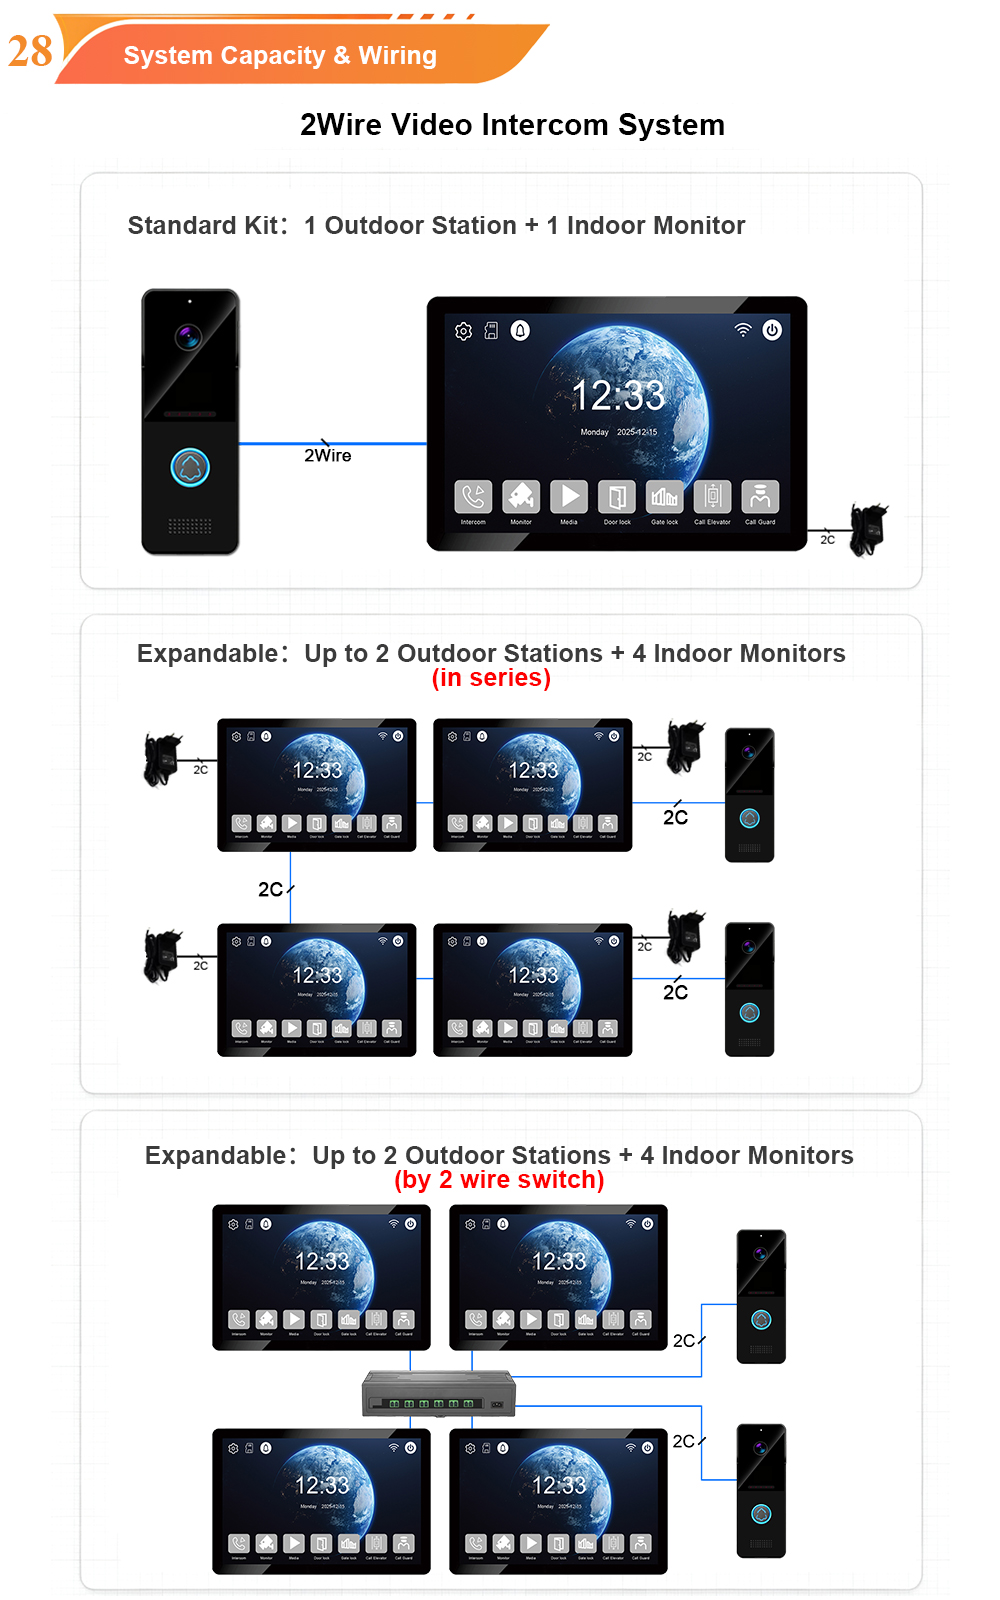
- Connect the wiring – Attach the wires to the corresponding terminals. For 2-wire systems, “no polarity, so no wrong way”
- Install the new monitor – Slide it down from the top until it clicks into place
- Mount the new door station – Use the included mounting bracket and screws
- Power on and test – The indoor monitor supplies power to the outdoor station over the same two wires
Time estimate: 2–4 hours.
For a New Wired Installation (No Existing Wiring)
This is significantly more complex:
- Plan the cable route – Determine how to run wires from the entrance to each indoor monitor
- Drill through walls – May require drilling through concrete, brick, or steel
- Run the cable – Pull 4-core, Cat5e/Cat6, or 2-wire cable through walls and ceilings
- Terminate connections – Connect all devices to the central controller or PoE switch
- Configure the system – Assign apartment numbers, set up the directory, and configure access permissions
Time estimate: One to several days, depending on building size.
Professional Installation: What You’re Paying For
The Professional Process
A standard professional installation typically involves:
- Initial consultation – Understanding your building’s needs
- Detailed site assessment – Inspecting existing wiring, entry points, and infrastructure
- Tailored equipment selection – Choosing the right system for your building
- Professional installation – Mounting, wiring, and configuring everything
- Post-installation support and training – Ensuring your team knows how to use the system
What Professionals Bring to the Table
| Skill | Why It Matters |
|---|---|
| Wiring expertise | Properly routing cables through concrete, steel, and multiple floors |
| Network configuration | Setting up IP addressing, PoE switches, and network security |
| System integration | Connecting intercoms with elevators, access control, and CCTV |
| Compliance knowledge | Meeting local building codes and safety standards |
| Troubleshooting | Diagnosing and fixing issues quickly |
| Scalability planning | Ensuring the system can grow with your building |
What Professionals Charge
Professional installation costs vary widely based on building size and complexity:
Note: Hardware costs for commercial door buzzer systems run $1,000–$10,000+, with full installation typically ranging $2,000–$15,000. These are rough estimates—every building is unique.
Cost Comparison: DIY vs Professional
| Cost Factor | DIY | Professional |
|---|---|---|
| Hardware | Same | Same |
| Labor | $0 (your time) | $500–$15,000+ |
| Tools | $30–$100 (if you don’t own them) | $0 |
| Wiring materials | $50–$200 | Included |
| Risk of mistakes | High—can be costly | Low—warranted work |
| Time investment | 2 hours to several days | 1–3 days (you don’t lift a finger) |
| Peace of mind | Variable | High |
The hidden math: If you call an electrician for a wired installation, “the labour can easily cost as much as the product, depending on your walls and distance”. For complex multifamily buildings, professional installation is almost always worth the cost.
The Hidden Costs of a Bad DIY Job
DIY might seem like a money-saver, but the risks are substantial:
1. Electrical Hazards
Incorrect wiring may cause electrical shock, fire, or system failure that compromises building security. This isn’t just a inconvenience—it’s a safety risk for everyone in the building.
2. Security Vulnerabilities
Without professional network planning, a DIY installation “leaves the system vulnerable to attack, and the system is thus prone to hacking or breakdown”. A compromised intercom can give attackers direct access to your building.
3. System Failures
A jury-rigged system “will not work, cannot be scaled up, and causes more issues than they solve”. Residents get locked out, visitors can’t get in, and security is compromised.
4. Costly Repairs
What starts as a cost-saving measure “ends up costing money in repairs”. The cost of fixing a bad DIY job often exceeds the cost of professional installation from the start.
5. Legal Liability
A failed system “opens the door to litigation” and “inflicts a critical blow to tenant satisfaction and property credibility”. If someone is harmed because your DIY intercom failed, you could be held liable.
How to Choose the Right Path for Your Building
Self-Assessment Questions
Ask yourself:
- How many units does your building have? More than 5? Call a pro.
- Does your building have existing intercom wiring? If yes, is it in good condition? If you’re not sure, call a pro.
- Does the system need to integrate with elevators, access control, or property management software? If yes, call a pro.
- Are you comfortable drilling through concrete, brick, or steel? If no, call a pro.
- What’s the cost of getting it wrong? If the answer is “thousands of dollars in repairs and frustrated tenants,” call a pro.
Frequently Asked Questions
Can I really install a video intercom myself?
Yes—but only for single-family homes or very small buildings with simple, wireless systems. For multifamily buildings, professional installation is strongly recommended.
How much does professional installation cost?
For a single-family home, professional installation typically costs $500–$1,000+ for a video system. For a 4-unit apartment building, costs range from $3,500–$5,000. For larger multifamily properties, expect $5,000–$30,000+.
What tools do I need for DIY installation?
You’ll need a drill, screwdrivers (possibly Torx), wire strippers, a voltage tester, and the mounting hardware included with your system. If you don’t already own these tools, expect to spend $30–$100.
What’s the easiest type of video intercom to install?
Battery-powered wireless video doorbells are the easiest. There’s no wiring to run—just mount the hardware, connect to Wi-Fi, and pair with the app.
What happens if I install it wrong?
Incorrect wiring can cause electrical shock, fire, or system failure. A poorly configured system can be vulnerable to hacking. Fixing a bad DIY job often costs more than professional installation from the start.
Can I install a wireless system myself and have a pro do the wired parts?
Yes—this hybrid approach can work well. Install the wireless components yourself, and hire a professional for the wired infrastructure, network configuration, and system integration.
How long does professional installation take?
For a typical multifamily building, professional installation takes 1–3 days—significantly faster than DIY, which could take weeks of weekends.
Conclusion
The decision between DIY and professional installation comes down to one question: how complex is your building?
| Building Type | Verdict |
|---|---|
| Single-family home, wireless | ✅ DIY |
| Single-family home, wired replacement | ✅ DIY (if you’re handy) |
| Small building (2–4 units) | ⚠️ Consider professional |
| Multifamily building (5+ units) | ❌ Professional required |
| Building with elevator integration | ❌ Professional required |
| Building with access control integration | ❌ Professional required |
As one industry expert put it: “For a single-family home or a highly simple, single-door dwelling, a do-it-yourself intercom can be an acceptable weekend do-it-yourself endeavor”. But for multifamily buildings, “attempting to install or repair a multifamily intercom system by yourself without help from the pros is a surefire way to cause big headaches, security breaches, and costly long-term problems”.
The bottom line: Know your limits. If your building has more than a few units, requires integration with other systems, or involves running new wiring through walls, hire a professional. The upfront cost is worth the peace of mind—and your residents will thank you.
Ready to install a video intercom? Start by assessing your building’s size, existing infrastructure, and integration needs—then choose the installation path that makes sense for your property.
This guide is brought to you by insights from intercom technology providers and installation experts—helping property owners and managers make informed decisions for their buildings.

About the Author: S & Y Internet Technology Inc.
S & Y Internet Technology Inc. is a professional installation and repair service provider based in Flushing, New York. Our expert team provides door-to-door installation and maintenance within a 100 km radius, ensuring quick response and high-quality results for every project — whether residential, commercial, or specialized.

Install & Repair Services
You May Also Interest
-
RFID vs QR Code vs Mobile App: Comparing Access Methods for Residential Buildings
Choosing the right access method for your apartment building or gated community is a decision that affects security, convenience, cost, and resident satisfaction. RFID cards, QR codes, and mobile apps each have distinct strengths and weaknesses. This guide compares them side by side—so you can make an informed choice for your next project. In modern…
-
Tuya vs Smart Life: Which App Is Better for Your Video Door Phone?
A practical comparison to help you choose the right app for your smart intercom system If you’ve recently purchased a FARHD video door phone, you’ve probably noticed that the product documentation mentions two apps: Tuya Smart and Smart Life. This immediately raises a common question: which one should you actually use? Are they different? Does…
-
Touch Screen vs Non-Touch Video Intercom Monitors: Which Is Better for Residents?
When specifying a video intercom system for an apartment building, villa, or residential community, one question often divides decision-makers: should the indoor monitor have a touch screen or physical buttons? Both options have passionate advocates. Both have real advantages. And both can be the wrong choice if they don’t match the needs of the residents…
-
How to Upgrade an Old Apartment Intercom to IP Without Rewiring: Step-by-Step
Upgrading an old apartment intercom to a modern IP system no longer requires tearing down walls, replacing every cable, or disrupting residents for weeks. With the right retrofit technology, you can deliver full IP functionality—video calling, mobile access, remote management—using the existing 2-wire cabling already inside your building. This step-by-step guide shows you how. Many…