How to Upgrade an Old Apartment Intercom to IP Without Rewiring: Step-by-Step
Share
Upgrading an old apartment intercom to a modern IP system no longer requires tearing down walls, replacing every cable, or disrupting residents for weeks. With the right retrofit technology, you can deliver full IP functionality—video calling, mobile access, remote management—using the existing 2-wire cabling already inside your building. This step-by-step guide shows you how.
Many apartment buildings still rely on outdated intercom systems: crackly audio, no video, no smartphone integration, and frequent component failures. Property managers often assume that upgrading to IP means a full renovation—opening walls, pulling new Ethernet cable, and disrupting residents for extended periods. That assumption is outdated.
Modern retrofit solutions allow installers to deliver full IP functionality over the existing 2-wire infrastructure already in place. The result is a faster, cleaner, and more cost-effective upgrade path—without the burden of a full infrastructure overhaul.
This guide walks you through the entire process, from pre-installation assessment to configuration and testing.
What You Need to Know Before You Start
Before selecting hardware or scheduling installation, confirm what is already in the building. This single step determines whether your project is a straightforward retrofit or requires more involved work.
Pre-installation checklist:
Tools and materials you will need:
- Cable tester (for continuity and voltage)
- Screwdrivers and mounting hardware
- 2-wire IP converter or adapter kit
- PoE switch or power injector
- Network cable (for the head-end connection)
- Labeling tape or markers
- Multimeter
Step 1: Verify the Existing Wiring Is Usable
Power down all related intercom and door-entry equipment. Disconnect the existing devices while carefully documenting and labeling every wiring connection.
Test the existing 2-wire cable for:
- Continuity — ensures the cable is not broken
- Voltage — confirms no unexpected power on the line
- Insulation integrity — checks for degradation or short circuits
If the cable passes these checks, you can proceed with a retrofit. If it fails, a partial rewiring may be necessary for that specific run.
Step 2: Choose the Right 2-Wire IP Retrofit Solution
Several manufacturers offer dedicated 2-wire-to-IP converters that transmit Ethernet and PoE power over legacy cabling. These solutions vary in capacity, features, and supported devices.
Key options to evaluate:
| Solution Type | What It Does | Best For |
|---|---|---|
| 2-wire IP converter (point-to-point) | Converts Ethernet to 2-wire at one end and back to Ethernet at the other | Single door station to indoor monitor runs |
| 2-wire IP switch | Distributes IP and PoE to multiple devices over existing 2-wire | Multi-apartment buildings with shared riser cabling |
| PoE extender over 2-wire | Extends Ethernet and PoE up to hundreds of meters over 2-wire | Long cable runs or distant entrances |
When selecting a solution, confirm it supports:
- The number of apartments or devices you need to connect
- PoE power budget for all connected devices
- Compatibility with your chosen IP intercom hardware
- Encryption and cybersecurity requirements
Step 3: Install the Head-End Converter or Switch
The head-end unit is typically installed in the building’s main distribution room or telecom closet.
- Mount the converter or switch in a secure, ventilated location.
- Connect the network side to your building’s LAN switch using a standard Ethernet cable.
- Connect the 2-wire side to the existing cabling that runs to the apartment or door station.
- Power the unit — either via PoE from the network switch or a local power adapter.
If using a system like the 2N Clip 2wire-IP, the master unit is installed where the Ethernet cable ends and the 2-wire cabling begins.
Step 4: Install the Remote Converter and New IP Devices
At the remote end—either in the apartment or at the door station—install the corresponding converter unit.
- Mount the remote converter near the existing device location.
- Connect the existing 2-wire cable to the converter’s 2-wire input.
- Connect the new IP device (indoor monitor or door station) to the converter’s Ethernet port.
- Verify power — the converter should receive PoE from the head-end and pass it through to the IP device.
For door stations, mount the new unit using existing mounting points where possible. Measure the opening against the new device dimensions and use an adapter plate if needed.
Step 5: Configure the System
Once hardware is installed, configure the IP intercom system:
- Assign IP addresses — either via DHCP or static configuration.
- Pair devices — door stations with indoor monitors, following the manufacturer’s pairing procedure.
- Configure access control — set up card credentials, mobile app access, and any PIN codes.
- Test video and audio — verify clear two-way communication between door station and indoor monitor.
- Test unlock function — confirm the relay triggers the door lock correctly.
- Configure remote access — set up mobile app connectivity for residents and management.
Step 6: Test and Document
Before finalising the installation:
- Test every apartment — call from the door station to each indoor monitor.
- Test mobile app access — verify remote calling and unlocking.
- Check failover behaviour — what happens if the network goes down?
- Document the installation — record IP addresses, pairing details, and wiring diagrams for future maintenance.
Real-World Success: Proven Results
This retrofit approach has been validated in real projects worldwide.
A housing estate in Warsaw, Poland—two buildings with 48 apartments each, built in 2008 with outdated 2-wire wiring—upgraded to a 2-wire IP intercom solution. The previous system was unstable with frequent component failures. By using the existing cables, the project achieved high-quality audio and video, remote access, and scalability for future expansion—while minimising material and labour costs.
The Toronto Transit Commission upgraded intercom systems across 75 subway stations using existing infrastructure, deploying over 1,500 IP intercom devices without the prohibitive cost and disruption of re-cabling.
Key Benefits of 2-Wire IP Retrofit
| Benefit | What It Means for Your Project |
|---|---|
| No rewiring | Reuse existing 2-wire cabling—no wall damage, no resident disruption |
| Faster installation | Complete projects in days, not weeks |
| Lower cost | Significant savings on labour and materials |
| Full IP features | Video calling, mobile access, remote management, cloud integration |
| Scalability | Add apartments or devices as needed |
| Future-proof | Modern IP platform supports ongoing updates and integration |
Common Pitfalls to Avoid
- Skipping the cable test — Always verify continuity and insulation before committing to a retrofit
- Underestimating PoE budget — Calculate total power draw for all connected devices
- Ignoring mounting compatibility — Measure existing openings and order adapter plates in advance
- Forgetting to label wiring — Document every connection before disconnecting old equipment
- Not testing failover — Confirm system behaviour if network connectivity is lost
How FARHD Supports Your Retrofit Project
FARHD has been manufacturing video intercom systems since 1998, with over 28 years of experience. Our 2-wire IP solutions are designed for retrofits, supporting:
- Existing 2-wire cabling — no rewiring required
- PoE power — delivered over the same 2-wire connection
- Scalable capacity — up to 9,999 apartments
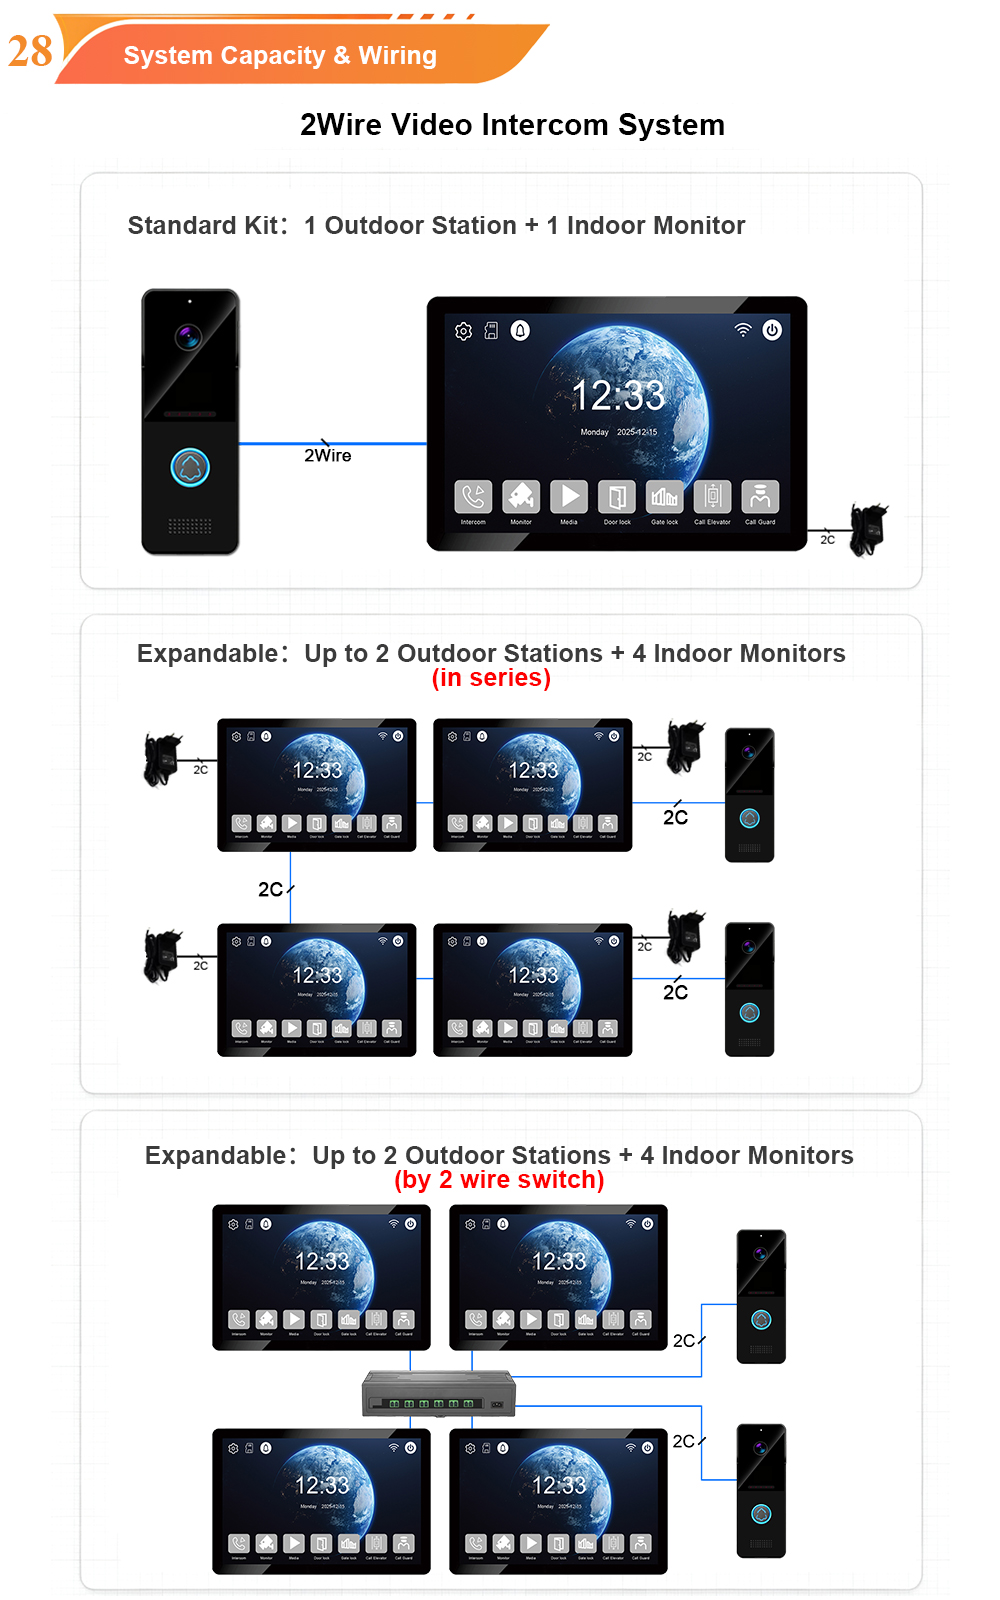
- Tuya Smart Life app — remote access, live view, and unlock
- Multiple unlock methods — app, card, NFC, password, indoor monitor
- IP65 weatherproof outdoor stations — rated -40°C to +70°C
- OEM/ODM services — custom branding, packaging, and software
Whether you are upgrading a single building or a multi-site portfolio, we can support your project with reliable products, technical documentation, and remote assistance.
Ready to plan your apartment intercom upgrade?

About the Author: S & Y Internet Technology Inc.
S & Y Internet Technology Inc. is a professional installation and repair service provider based in Flushing, New York. Our expert team provides door-to-door installation and maintenance within a 100 km radius, ensuring quick response and high-quality results for every project — whether residential, commercial, or specialized.

Install & Repair Services
You May Also Interest
-
RFID vs QR Code vs Mobile App: Comparing Access Methods for Residential Buildings
Choosing the right access method for your apartment building or gated community is a decision that affects security, convenience, cost, and resident satisfaction. RFID cards, QR codes, and mobile apps each have distinct strengths and weaknesses. This guide compares them side by side—so you can make an informed choice for your next project. In modern…
-
Tuya vs Smart Life: Which App Is Better for Your Video Door Phone?
A practical comparison to help you choose the right app for your smart intercom system If you’ve recently purchased a FARHD video door phone, you’ve probably noticed that the product documentation mentions two apps: Tuya Smart and Smart Life. This immediately raises a common question: which one should you actually use? Are they different? Does…
-
Touch Screen vs Non-Touch Video Intercom Monitors: Which Is Better for Residents?
When specifying a video intercom system for an apartment building, villa, or residential community, one question often divides decision-makers: should the indoor monitor have a touch screen or physical buttons? Both options have passionate advocates. Both have real advantages. And both can be the wrong choice if they don’t match the needs of the residents…
-
5 Common Mistakes to Avoid When Installing Apartment Video Intercom Systems
Installing a video intercom system in an apartment building is not the same as installing one in a single-family home. Multiple tenants, shared infrastructure, varying wiring conditions, and the need for scalability all create unique challenges. Too often, installers and property managers make avoidable mistakes that lead to poor performance, high maintenance costs, and unhappy…